How to use Custom Forms in Apps
IDHub allows you to build and create your own custom forms and use those custom forms while onboarding applications. This document would elaborate on how you can use your custom forms in your Applications.
Creating your own custom form
- Go to ‘
Custom Forms' in the Admin Module of IDHub using the credentials of a user that has the role of 'System Administrator' with them. To learn more about IDHub roles, click here - Upon reaching Custom Forms, Click on the ‘
Create Form' button - After that, you need to enter some basic details of the form that you are creating such as the
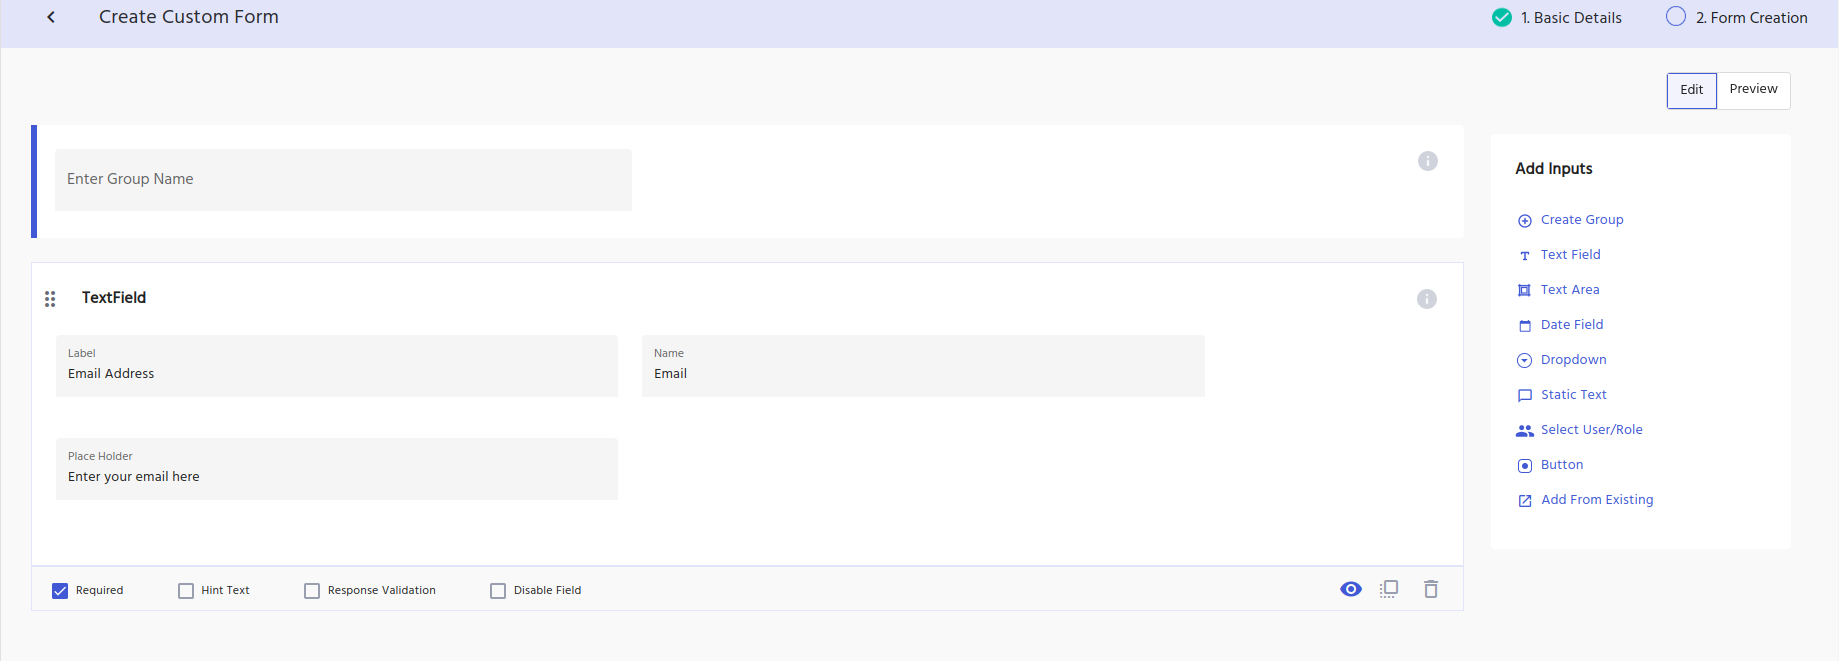
Form name,description, and search keywords (if any) and then click on thenextbutton. - At this stage the form builder page will be shown to you, where you can select the fields you like to have in your form as is shown in the screenshot below:
tip
- You can make fields as required or not required
- You can also put some JavaScript validations for the fields by clicking on the response validation checkbox and entering the JS code in the textbox.
- After entering all the required fields, you can also preview the form, by clicking on the
previewtab in the right-hand side of the page. - Click on the
Submitbutton at the bottom to create the custom form.
Attaching a custom form to an application
You can attach a custom form to an application in two ways:
- You can attach the custom form when you are onboarding a new application.
- Go to ‘
Manage Catalog' in the Admin Module of IDHub using the credentials of a user that has the role of 'System Administrator' with them. To learn more about IDHub roles, click here - Upon reaching Manage Catalog, Click on ‘
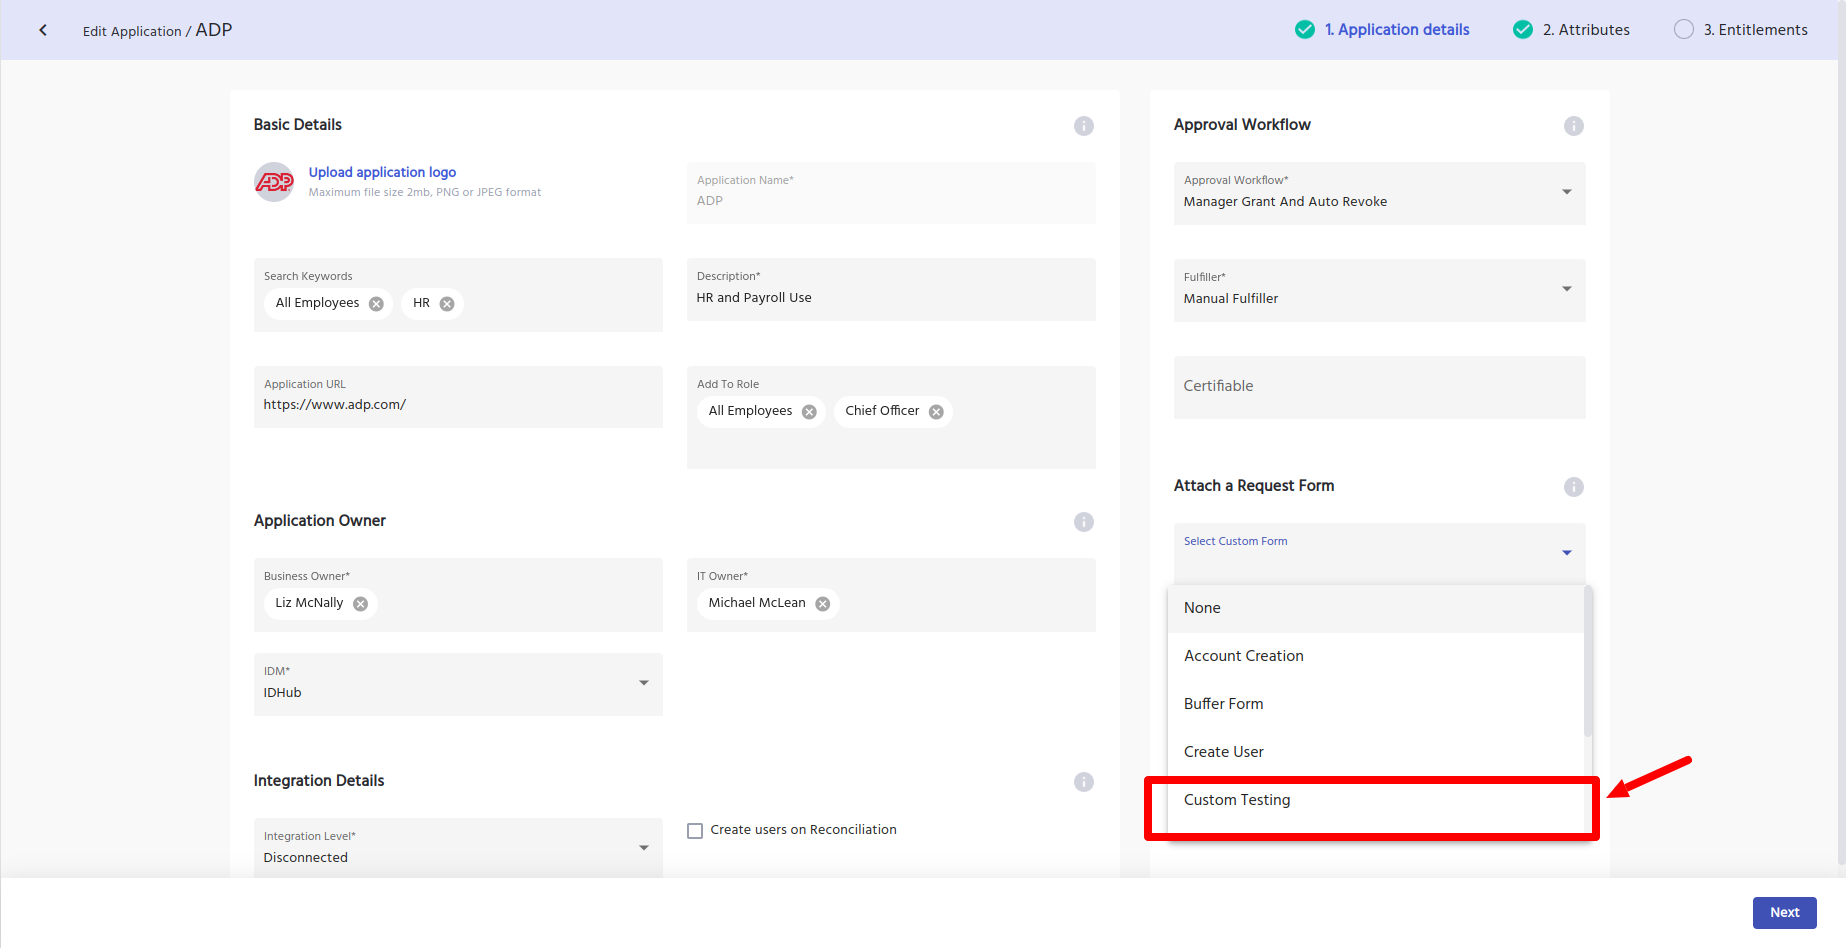
Create Application' and 'Create Application' again from thedropdown - In the application onboarding wizard under the section
Attach a Request form, select the custom form that you have created from the dropdown.
- Go to ‘
- You can also attach the custom form to an existing application (which is already on-boarded)
- Go to ‘
Manage Catalog' in the Admin Module of IDHub using the credentials of a user that has the role of 'System Administrator' with them. To learn more about IDHub roles, click here - Upon reaching Manage Catalog, Click on the
edit iconof the application to which you want to attach the custom form. - Under the
Attach a Request formsection, select the custom form that you have created from the dropdown.
- Go to ‘